


How to Install Wood Slat Panel for a Modern Touch
Adding wood slat panels to your interior is an excellent way to achieve a modern and cozy look. These panels are not only visually appealing but also functional, especially when used as acoustic panels. Here’s a step-by-step guide to installing wood slat panels in your space.
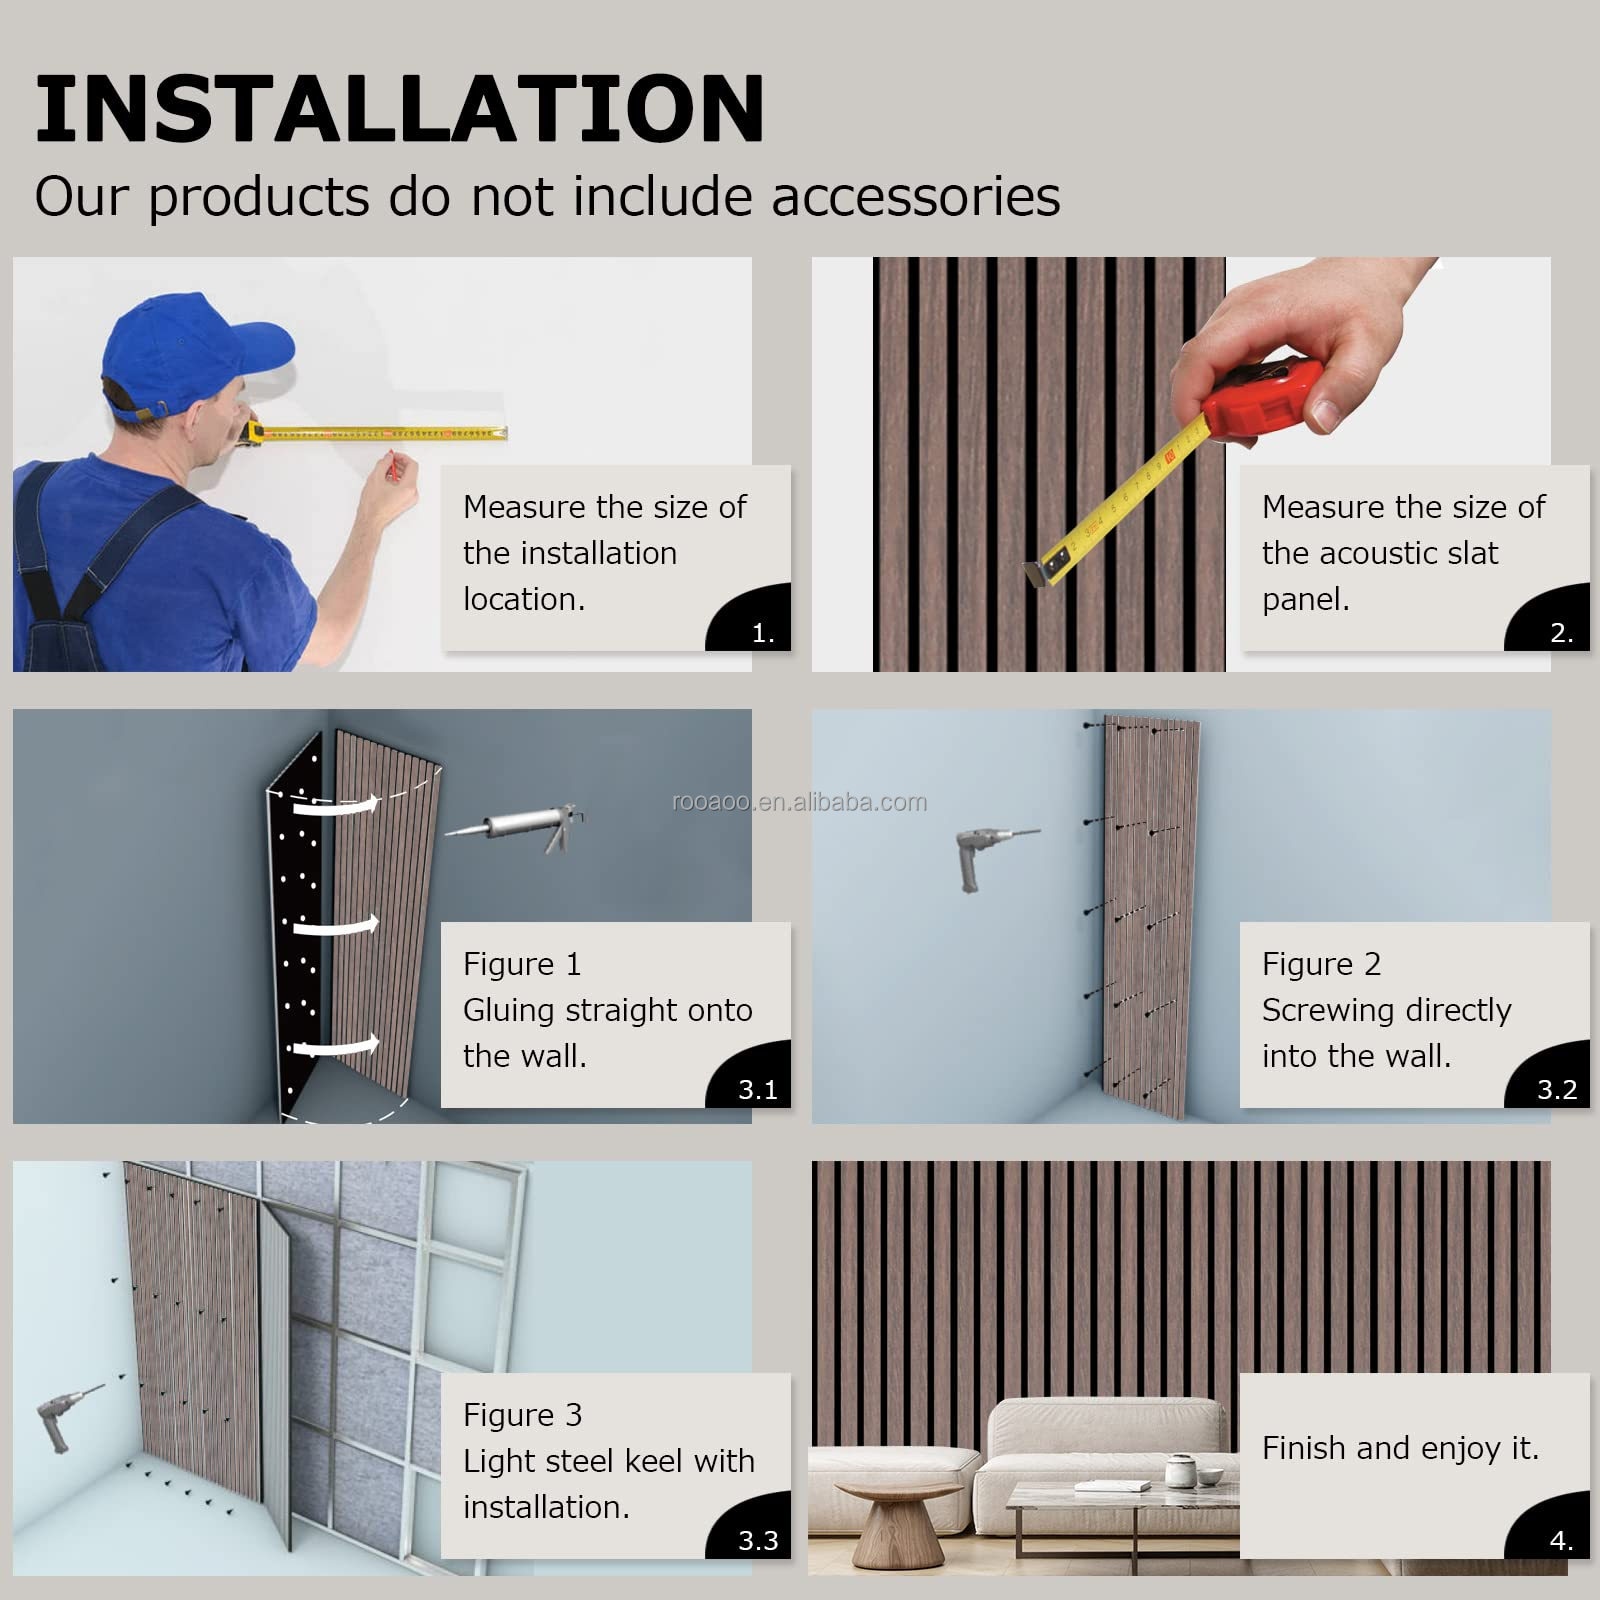
Step 1: Measure the Wall Area
Start by measuring the wall area where you plan to install the panels. Use a measuring tape to get precise dimensions. Mark these measurements on the wall to serve as a guide.
Step 2: Choose the Right Installation Method
Wood slat panels can be installed using adhesive or screws. For lightweight panels, adhesive works well. Heavier panels might require screws for added stability. If using screws, identify and mark the wall studs to ensure proper support.
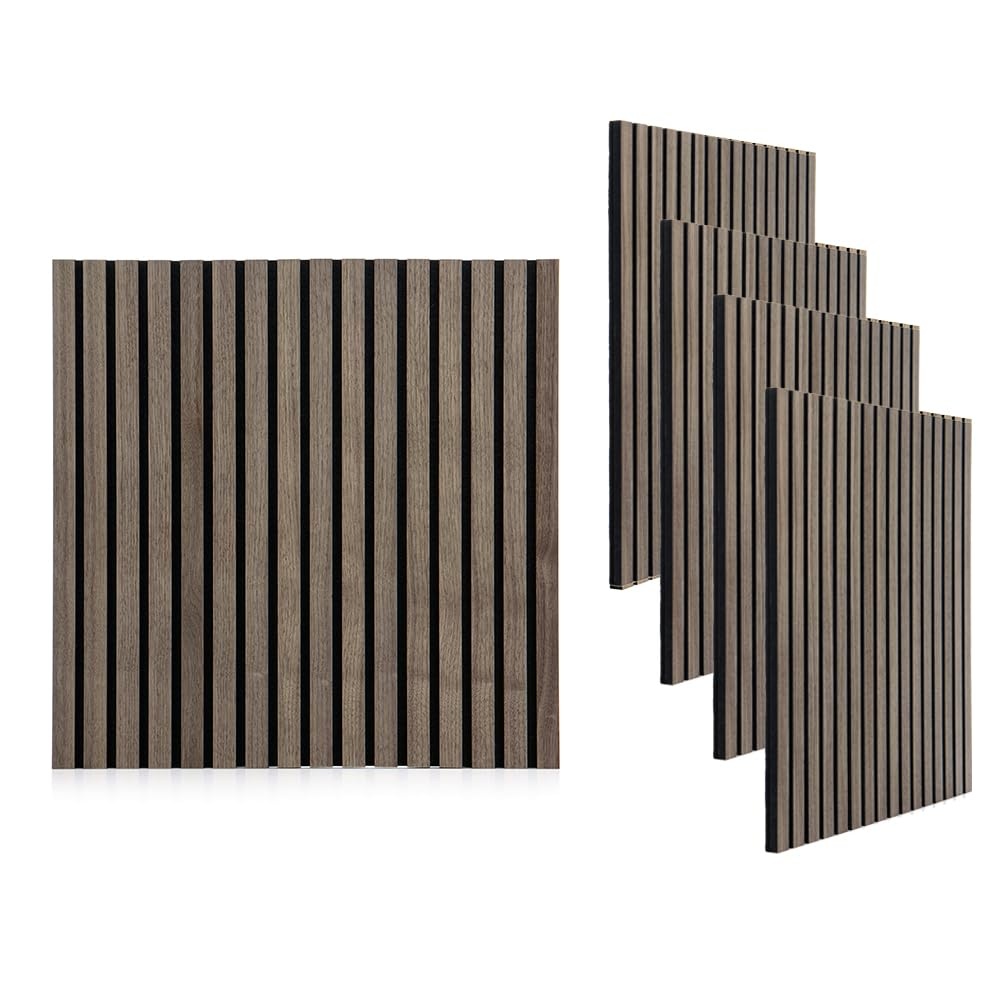
Step 3: Cut the Panels to Size
Use a fine-toothed saw to trim the panels to the required size. Always wear safety gear while cutting to avoid injuries. After cutting, sand the edges to ensure a smooth finish.
Step 4: Install the Panels
Begin at one corner of the wall. Apply adhesive to the back of the panel or drill screws into the marked studs. Use a level to ensure each panel is straight. Continue adding panels, working your way up the wall.
Step 5: Check and Adjust
Once all panels are installed, step back and check the alignment. Make minor adjustments if needed to achieve a flawless finish. Use caulk or filler to seal gaps for a professional look.
Step 6: Final Enhancements
Combine wood slat panels with wall panels or integrating 3D decorating panels for a bold statement. This combination not only improves the visual appeal but also adds depth and character to the room.
Tags:
- acoustic panel
- wall panel
- 3D decorating panel
SEO Keywords:
acoustic panel, wall panel, 3D decorating panel, wood slat panel installation, modern home decor.
READ MORE:
- Come installare pannello in doghe di legno per il miglioramento della casa
- Come installare pannello in doghe di legno per un tocco moderno
- How to Install Wood Slat Panel for a Stylish Interior
READ MORE:
- How to Choose the Right Akupanel | Acoustic Slat Panel, Wood Slat Panel, 3D Wall Panel
- How to Install Wood Slat Panel for a Contemporary Look
- Come installare pannello in doghe di legno per un look contemporaneo
- How to Install Wood Slat Panel for Home Improvement
- Come installare pannello in doghe di legno per il miglioramento della casa
- Come installare pannello in doghe di legno per un tocco moderno
- How to Install Wood Slat Panel for a Stylish Interior
- Come installare pannello in doghe di legno per un interno elegante
- How to Install Wood Slat Panel
READ MORE:


